I'm back from my UK visit (why does it take so long to get over jet lag the older you get?) and really want to get caught up with this sewing blog so I'm bundling together 3 finished items in this post especially as I have made all of these patterns before.
I recently bought this purple printed fabric, I really loved the design and colours in it and bought enough for a skirt and a dress (I think!). On closer look I realised I needed to be a bit careful with pattern placement to avoid bullseyes in unwanted places which restricted my pattern choices a bit.


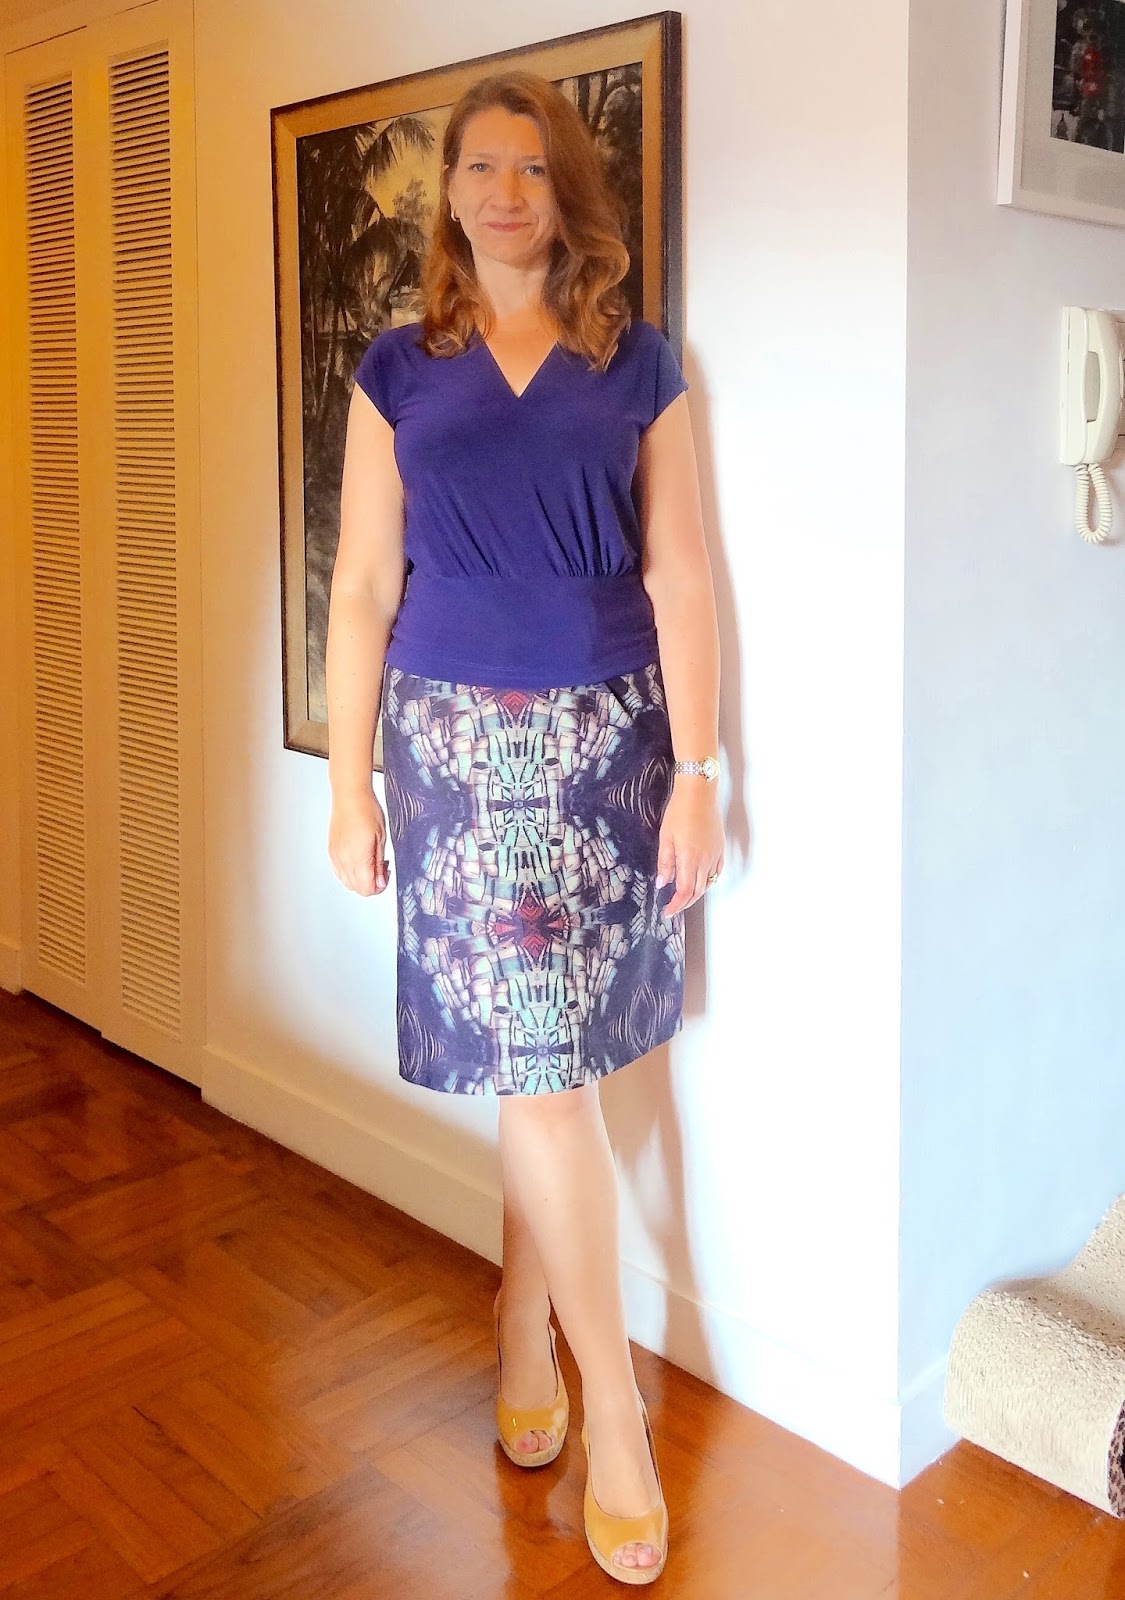
I also didn't want to waste fabric by chopping up the print too much so I picked a Burda skirt pattern (03/2009 - 109, made previously here) with a side zip and a slight a-line so that no back seam/split is needed to be able to walk in it. I decided it was safest to place the purple eye shapes at the sides and completely by accident the skirt width is just about right so they meet and form a pattern at both side seams.


I inserted an invisible zip and the waistband is secured with a hook and bar. Although the fabric is some mystery lightweight synthetic I lined it with purple silk so that it still feels nice and cool to wear.


This print offers a lot of options for co-ordinating tops and I think the colours make it wearable in cooler weather too, but for now I have made 2 short sleeve knit tops to go with it.


This is yet another version (#4!) of the top half of Burda 08/2011-126 in a dark purple jersey. You can see the first version here.


This time I decided I wanted extended shoulders which was very easy to do on the back and slightly less easy on the front due to the unusually shaped pattern piece, but hopefully the photos below show what I did - once you identify the shoulder and armscye it's quite easy. Sorry if it is confusing that I took the pictures upside down so the neckline is towards the front of the photos.
Adjustment to the back, simple enough.

Adjustment to the front which is a single pattern piece.