Pages

Thursday 26 June 2014

Burda Style 06/2014 - 116 Shorts

Shorts!  I know, what is happening round here, it used to be dresses dresses and more dresses.

I wore these shorts earlier this month on a weekend trip to Langkawi in Malaysia for my birthday which is where these photos were taken - of course they are black shorts and you can't see the details, but never mind!


I used a drapy silky unknown content fabric that looks and feels a bit like brushed silk twill that I found in the Sham Shui Po fabric market, whatever it is it was a dream to work with and wear.


I made a very plain version of these shorts, most similar to view A without the hem binding and side splits.   They are super easy to make, but sometimes when things are easy the old brain disengages and you do something silly.  I am still fairly inexperienced with pants and shorts and when I looked at the front piece I couldn't envisage how roomy it was going to be round my thigh, in fact it looked really small so I added extra seam allowance to the side seams (I traced a 40), figuring it had an elasticated waist anyway so roomier was better.  But, duh, Allison, the waistband casing still needs to be sewn onto the top of the shorts and of course I hadn't added any extra onto that piece.  I could have cut another one, but at that stage I had already made two buttonholes for the drawstring and sewn it together and well I am lazy.  So after checking that I could get the waistband over my hips I took in the shorts at the side and front and back seams till it matched.


Continuing on this theme, I also hadn't taken into consideration the width of the elastic I had available and should have made a narrower waistband.  I just added a row of stitching at the top and bottom of the waistband so the elastic channel was narrower.  Having 2 channels would be an alternative.

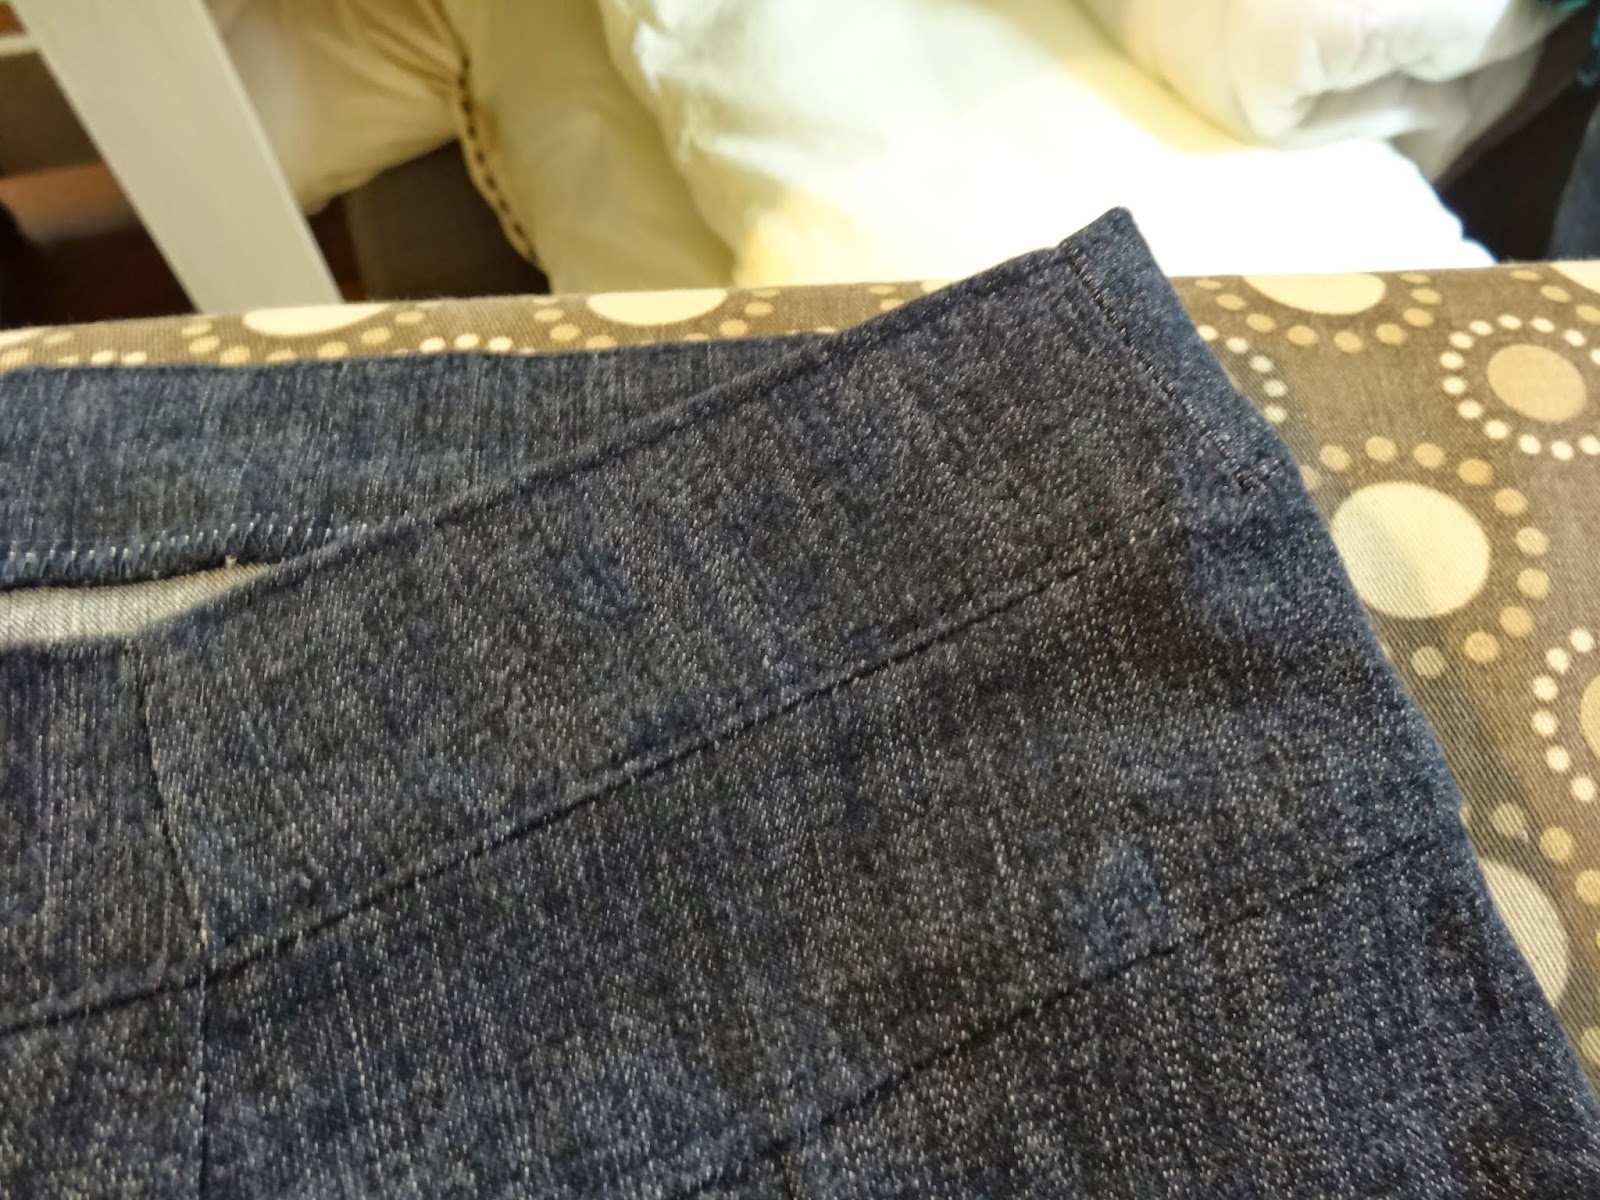
I aded a couple of beads onto the ends of the drawstring, which is really just for decoration as the elastic does all the work.  I've had to lighten these pictures considerably to show the detail which also shows how badly these have been ironed after washing ha ha.


So keep your brain engaged even when sewing easy stuff is the lesson learnt here.  I am really happy with how they came out though and next time, if there is one, I will know just to cut a straight 40 and be done with it, you can of course shorten the elastic in the waistband to pull them in a bit there.


Next up, more previously unchartered territory - workout clothes!

Wednesday 11 June 2014

Burda Style 06/2014 - 108 Dress

It's still June and here is a dress from the June issue and I also have a pair of shorts just waiting to be hemmed, probably a first and it says a lot about how I think Burda is on a bit of a roll lately with the good patterns.


Sometimes I just flick through the magazine and look at the photos and line drawings, sometimes I take my time and actually read it which can be very entertaining.  This dress is described as follows;

"Putting this figure hugging dress together is just like ikebana, the Japanese art of flower arranging."

Now maybe it's just because I left off all the plisse fabric bits, but if you are hoping to become an expert at ikebana you are going to be disappointed. (which is a shame because I just google imaged it and it is very lovely!).

If however you want a great dress you will not be disappointed!


I love how this turned out, and I think it can work as a semi casual dress, like mine here in cotton or as a cocktail dress in dupion or brocade.  I think too that the bodice would look great with a full gathered or circle skirt, again as a party dress or a summery dress depending on the fabric.


The changes I made here were to raise the neckline and extend the wrapover (Burda called it low cut which usually means navel baring on me) and as mentioned above I left off the plisse insert and belt.  This is easy to do, the left front skirt piece has the centre front marked, I just used this as the fold line.  I also shortened my version to just on the knee.

The fabric is the large scale ikat print that I bought on this trip and said was going to be a pencil skirt.  Luckily I had bought 2 yards so had enough to change my mind and make this dress.  I didn't attempt to pattern match other than to centre the motifs and make sure I didn't have big pink blobs somewhere inappropriate and I think it is OK.


The original has a self lined bodice, I used a lightweight cotton since my fabric was just very slightly see through.  I also lined the skirt for the same reason.  The lining gave me a bit of trouble with the wrapover fronts since they are separately lined and I hacked a way to get the inside looking halfway decent.  Here is what I did for the record, I am certain there is a better way (centre back zip?, draft a separate 1 piece front lining? If anyone knows the answer please shout out in the comments.....)

  • kept lining and bodice separate at zip side seam
  • stitched main fabric of skirt to bodice for only about an inch either side of the zip side seam
  • insert zip, keeping lining free
  • finish rest of main fabric skirt/bodice seam
  • insert skirt lining to seam allowances of skirt/bodice seam just sewn
  • handstitch remaining unsewn bodice lining to skirt lining and lining edges to zip

needed a bit more lining fabric here!
front lining
hand hemmed skirt
Other than the lining issue it was easy to put together, I cut a 38 at the shoulders and waist, blending out to a 40 at the bust and hips which along with the front extension shown above gave me a decent fitting bodice which I am sure I will use again.  I did still slipstitch it together at the crossover just in case.  After the wadder I just posted I am now a happy camper, really recommend trying this pattern if it's your style.


Friday 6 June 2014

Wadder Warning! - Burda Style 05/2014 - 105 Top

Firstly thanks for the encouragement on the rare pants sighting on this blog, I am fired up to try more.  That particular pattern is quite low rise in the front and a bit higher in the back - which for me, once I'd dealt with the straight waistband, is really ideal for my shape, but maybe be sensible, unlike me, and test them first.  Which brings me nicely on to.....

.....In case the title doesn't say it loud enough I'm going to get straight to the point and say this was a total wadder for me.  I am a fan of Burda's patterns and in particular their consistent sizing so it pains me a bit to say this, but the fit on this was awful - the neckline was far too wide, the sleeves very narrow and the top just wouldn't stay on my shoulders at all.  If you decide to make this or the dress version I highly recommend a muslin first.

It would probably have been OK if I spent the whole day posed like this model and held a torch to blind anyone who tried to take a closer look (I really should be more suspicious of pattern photos like this!).


Which is not what I did, oh no, I cut straight into some lovely red silk jersey.  For some reason I always get an urge to whip up something at the 11th hour before a trip and often it turns out to be unsuitable in some way, perhaps I'll learn one of these days.  Here is the sorry result (the back neckline is still unfinished here, I knew when to quit!).  I do think it's important to show the bad stuff, but dwelling on it is just a bit depressing so one picture and let's move on!


I had to salvage the fabric so I hacked off the top half and with the off cuts just managed to squeeze out a simple cowl top from Burda Style 05/2013 albeit with an extra seam below the waist.  I've made this a couple of times before from leftovers as it uses a small amount of fabric if you ignore Burda's instructions to cut it on the bias - it doesn't seem to be necessary in a knit.  It feels nice to wear, but is a bit ordinary for the lovely fabric sadly.


This is the top I was wearing in my previous pants post, here is a dodgy cropped picture from that post.


Wednesday 4 June 2014

Burda Style 03/2012 - 126 Pants

I can't remember the last time I made pants (I would call them trousers, but pants is quicker to type!), but thanks to my hip/waist differential it is difficult for me to get a great fit in RTW so they really should feature more on my sewing list.

I picked this pattern because I really liked the interesting seaming on these - not that anyone can really see it here.  I was intending to make them cropped which is how I like to wear pants in the summer, but I liked how they looked at the longer length too and thought stuff it, I'll just roll them up when I want them shorter.


Close up of front seam detail


This pattern has no side seam but does have seams on the front and back leg so there is scope for adjusting the fit of the leg.  Actually I found these to be a pretty good fit as they were, except for one thing which should have been obvious to me...the waistband is straight when I really need a curved one.

However I had stupidly already attached and trimmed the waistband seam so I fudged it by putting a few tiny darts into the waistband and taking it in at the centre back where there is a seam.


Other than the waistband "fix" the other change was to leave off the front leg horizontal seams and back welt pockets out of sheer laziness really as I knew I'd never use them and they wouldn't show up anyhow.

My fabric is a lightweight denim with some stretch, really nice which is good because I have lots more of it left.

The instructions were surprisingly good, even the fly front instructions made sense!


These aren't perfect, there's a bit of extra fabric in the upper front that kind of puffs out when I sit down in them and I probably need to go down a size, but they are probably still a better fit than anything I can find in RTW so maybe there will be more pants popping up here in future.